Steps 1-4 for Windows XP or Windows Vista Users
- Take a Screenshot - Take a screenshot of your screen with the scorecard on it by pressing PrtSc, which is typically located on the top row of your keyboard, sometimes shared with the Home Key or System Request (SysRq).
- Paste the Picture to an Image Editor - Since you've already taken the screenshot, all you have to do now is paste it. All you have to do is open up image editing software, like Microsoft Paint, Photoshop, or GIMP. All Windows computers come with Microsoft Paint, which can be accessed by going to Start Menu -> All Programs -> Accessories -> Paint. While paint is open, paste the screenshot by pressing Ctrl+V.
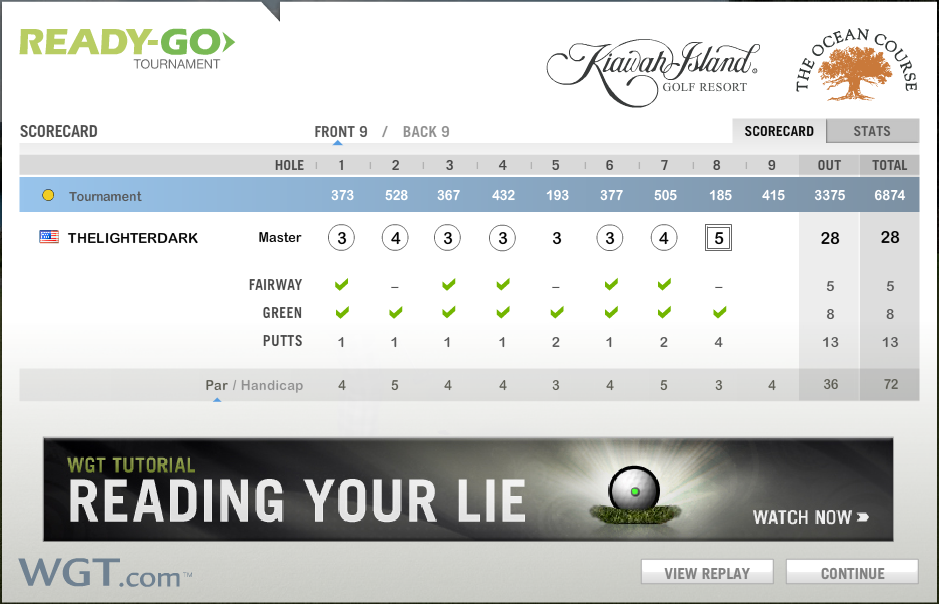
- Copy Only the Scorecard - If you are using Paint, use your mouse to outline the portion of the scorecard you would like. If you are using Photoshop or GIMP, use the Recangular Marquee Tool to select the scorecard and press Ctrl+C or Edit -> Copy to copy the image. It is a good idea to cut it off at the very top and at the bottom right under the Par/Handicap Line, as such:
Whole Scorecard
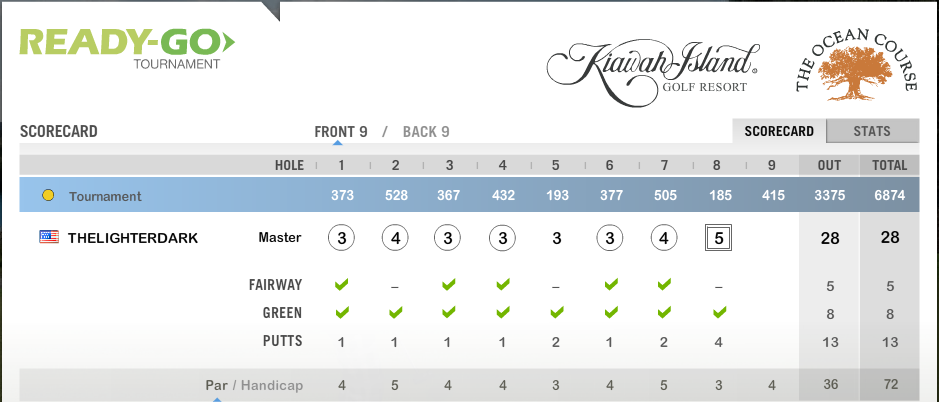
Condensed Scorecard
- Save Your Image - If you are using Paint, go to File -> Save As, enter a name for your scorecard, and save it to your computer in the location of your choice. If you are using Photoshop or GIMP, you will have to create a new image and the dimensions of your copied dimensions should already be in the new image window. Press OK, paste your image to the new document then go to File -> Save As and save it to your computer in the location of your choice.
For Windows 7 Users
- Windows 7 users have a huge advantage when it comes to promptly selecting portions of your screen for a screenshot. Go to Start Menu -> All Programs -> Accessories -> Snipping Tool.
- Use Snipping Tool to select the scorecard. When you are finished, a new window will come up and you can either save your image or take a new one. If you are unhappy with your selection, press New Snip in the top left corner of the window.
- When done selecting the scorecard, go to File -> Save As and save the file to the location of your choice.
- Upload Your Image to the Internet - There are many places for you to upload your image like Imgur, Photobucket, ImageShack, and TinyPic to name a few. All of these websites are free to use, but Imgur will be the quickest. Here are the steps to upload an image to Imgur:
- Click "COMPUTER" underneath "Upload Images."
- Find the screenshot you captured and double click it. It should now be under "Start Upload."
- Press "Start Upload." Your picture has now been uploaded.
- You should now see your image within Imgur's website. From the list of links on the right, copy the link underneath "Direct Link (email & IM). You are now ready to post your picture.
- Insert Your Media to WGT Forums - In a reply box in the WGT Forums, press the Insert Media button.
 Insert Your Image - After pressing the Insert Media button, the following window will appear:

The link you copied from your saved image on Imgur should go in the box after Media URL. Set the width to 450, this will fit the image inside of the borders of the forum without cutting off the right edge. If you still feel like resizing the image, simply click on it to active the Edit Image tool, and you can drag the white boxes on the corner to change the size.
You're Done! - Click post!
My results!